Mastering Double Exposure in Lightroom: A Comprehensive Step-by-Step Tutorial
Introduction:
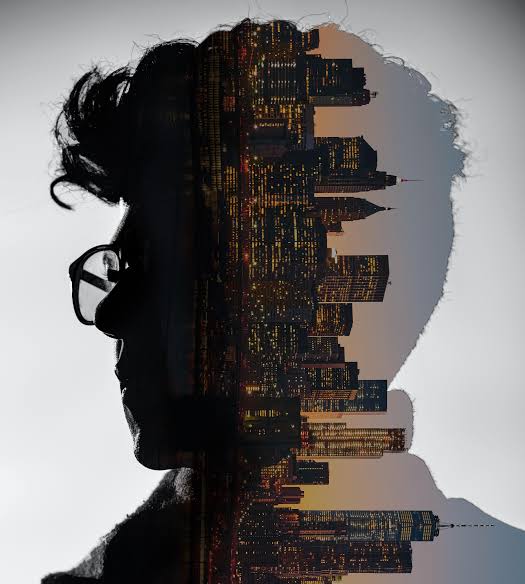
Double exposure photography is a captivating technique that combines two images into a single frame, creating stunning and surreal compositions. While traditionally achieved in-camera, modern editing software like Adobe Lightroom allows for seamless double exposure editing. In this guide, we’ll explore how to edit double exposures in Lightroom, unlocking a world of creative possibilities.
Step 1: Selecting the Images
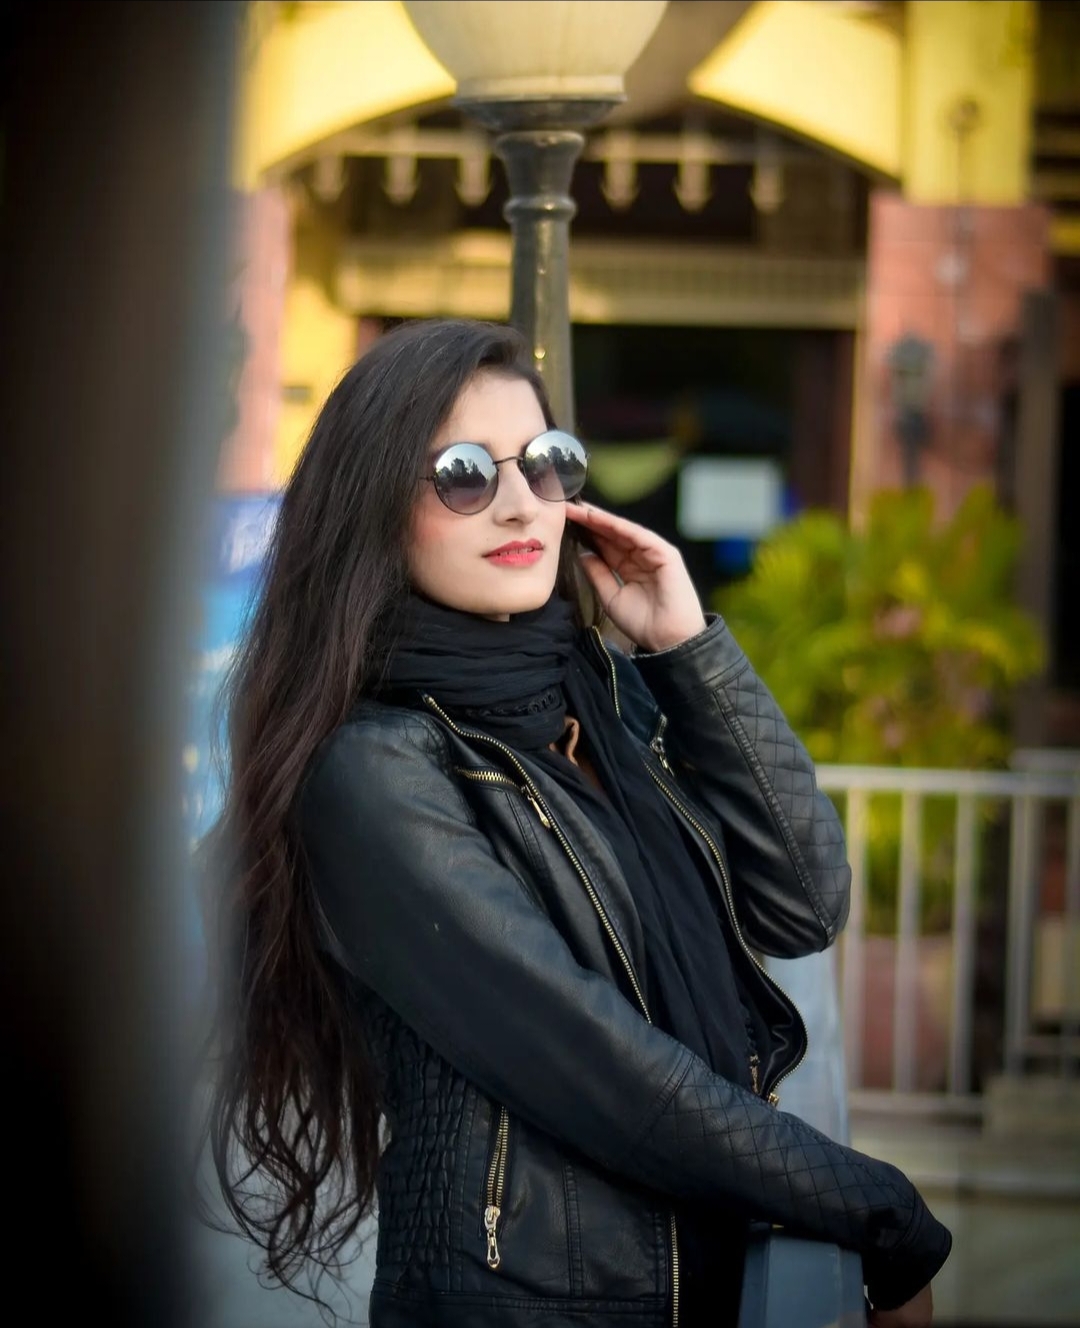
Choose two images that complement each other thematically or aesthetically. One image will serve as the base, while the other will overlay on top to create the double exposure effect. Look for images with contrasting elements or similar color tones for the best results.
Step 2: Importing into Lightroom
Import both images into Lightroom by clicking on the Import button and selecting the desired files. Organize them into a collection for easy access during the editing process.
Step 3: Basic Adjustments
Before merging the images, make basic adjustments to each photo individually. Use Lightroom’s editing tools to adjust exposure, contrast, highlights, shadows, and color balance to enhance the visual appeal of each image.
Step 4: Creating the Double Exposure Effect
Once both images are edited to your satisfaction, it’s time to create the double exposure effect. Start by selecting the base image and then click on the Develop module. Next, choose the Overlay option from the Lightroom toolbar.
Step 5: Adjusting Opacity and Blending Modes
Experiment with different blending modes such as Overlay, Screen, Multiply, or Soft Light to achieve the desired effect. Adjust the opacity slider to control the intensity of the overlay, blending the two images seamlessly.
Step 6: Fine-Tuning
Refine the double exposure effect by fine-tuning the settings. Use the adjustment brushes or graduated filters to selectively apply edits to specific areas of the image. Pay attention to details such as contrast, saturation, and sharpness to ensure a polished final result.
Step 7: Adding Final Touches
Once you’re satisfied with the double exposure effect, add any final touches to the image. Consider adding vignetting, grain, or other creative effects to enhance the overall mood and atmosphere of the composition.
Step 8: Exporting the Final Image
When you’re happy with the final result, it’s time to export the image from Lightroom. Choose the appropriate file format, resolution, and quality settings before exporting the double exposure masterpiece.
Conclusion:
Editing double exposures in Lightroom opens up a world of creative possibilities, allowing you to transform ordinary photos into extraordinary works of art. By following these step-by-step instructions, you’ll be able to master the art of double exposure editing and unleash your creativity like never before. Experiment with different images, blending modes, and editing techniques to create unique and visually stunning compositions that showcase your artistic vision.


Would you like to share your thoughts?